Make a Mug for You & Your Cat with Cricut
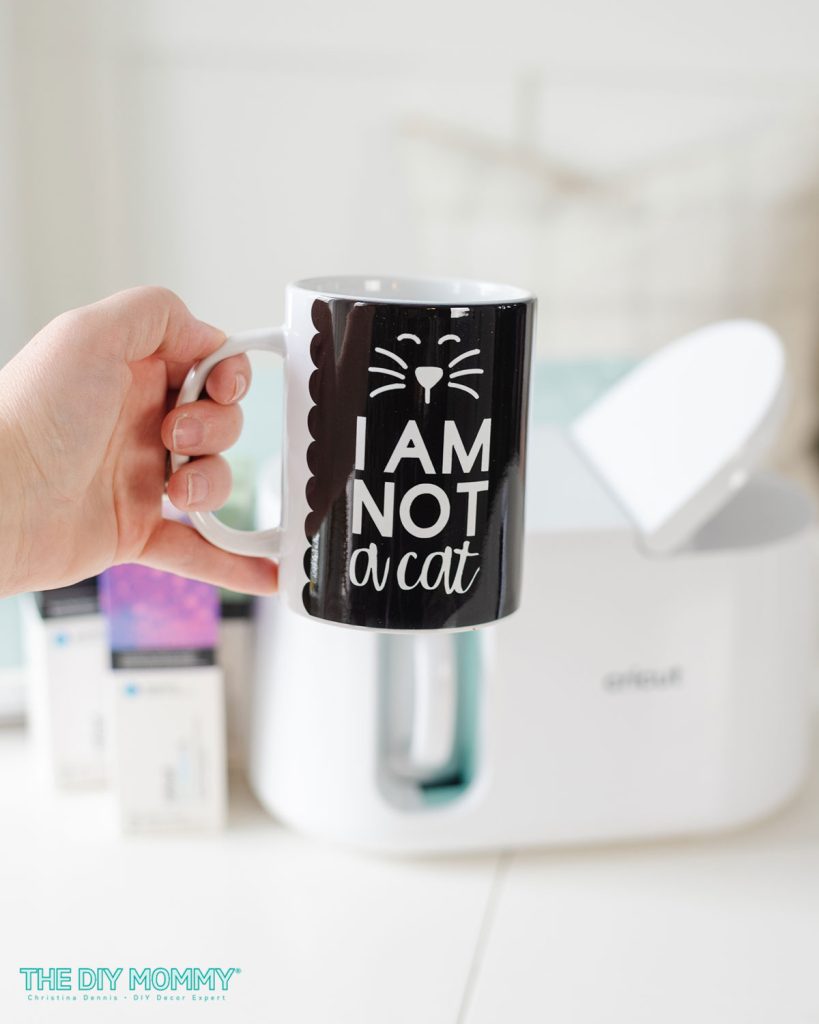
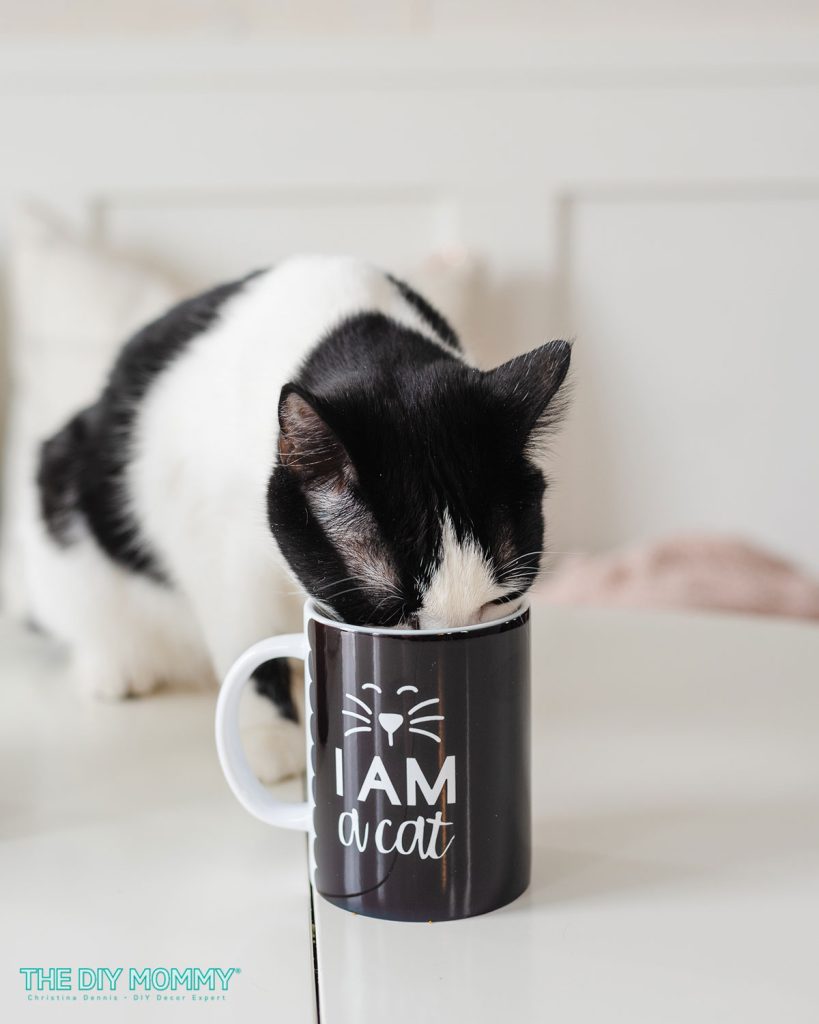
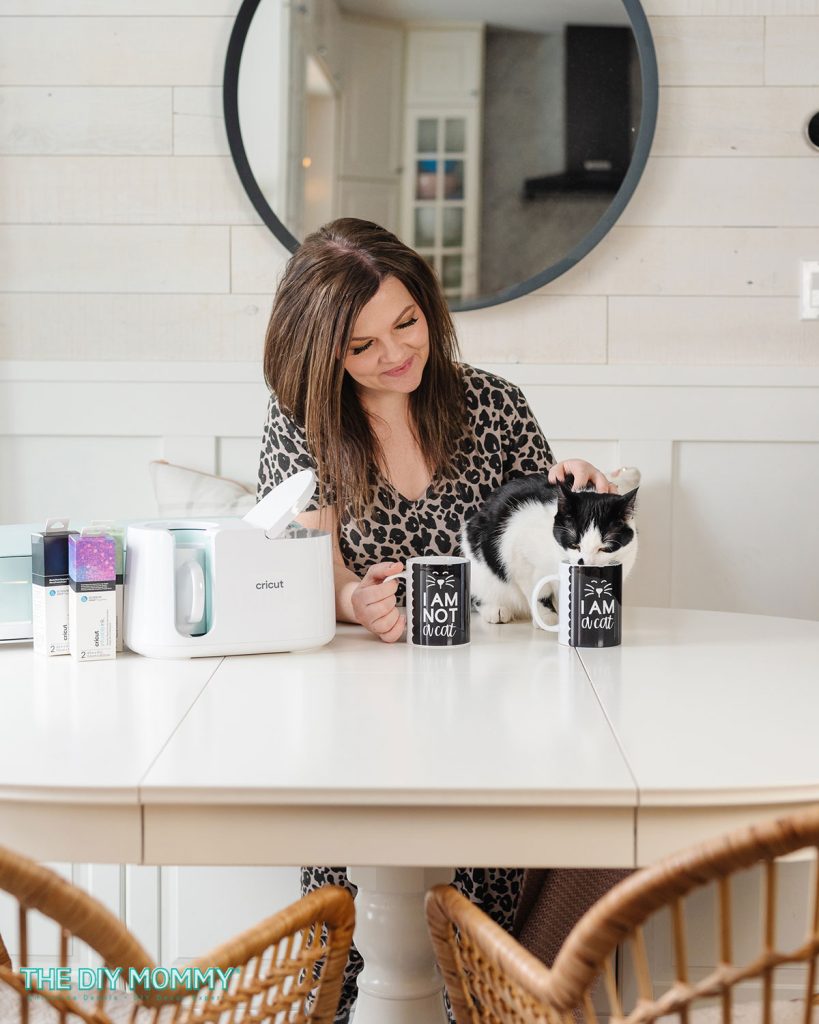
Always wanted matching mugs for you and your kitty? Here’s how I made some adorable “I am a Cat” and “I am not a Cat” mugs with a Cricut cutting machine & Mug Press!
Not only am I a huge fan of coffee, but I also adore crafting. Creating cheeky and unique mugs is one of my favourite crafts to do, and I love to use the Cricut to make them. (Not sure what a Cricut is? You can learn more about it on my DIY & decor blog, The DIY Mommy.)
Here’s how to make your kitty & me mugs:
First, turn your Mug Press on so that it starts warming up.
I designed the “I Am Not A Cat” mug design in Cricut Design Space. You can make it for yourself with my Design Space Project file right here. (Get the matching kitty mug design that says “I AM a cat” here!) My design is for a 15 oz Cricut mug blank, but if you use Cricut’s Mug Design Setup project, you can choose which size of mug you’re making as well as a different edge style for your design.
Next, cut your design out with your Cricut machine (I use the Cricut Explore 3) onto Infusible Ink. Make sure to mirror your design before cutting!
After your design is finished cutting, weed out any of the areas you don’t want transferred to your mug.
Then, grab your Infusible Ink compatible mug (I’m using a 15 oz mug from Cricut), and make sure it’s free of any debris or grease. I’m using a lint roller to clean mine.
Wrap your cut & weeded design around the mug, joining the two tabs at the center right under the handle. The ink backing should stick well to the mug, and make sure to smooth the design down well against the mug’s surface.
You can also add strips of Heat Resistant tape to the top and bottom edges of the mug to help keep your Infusible Ink design snugly against the mug to help prevent any bubbling or lifting.
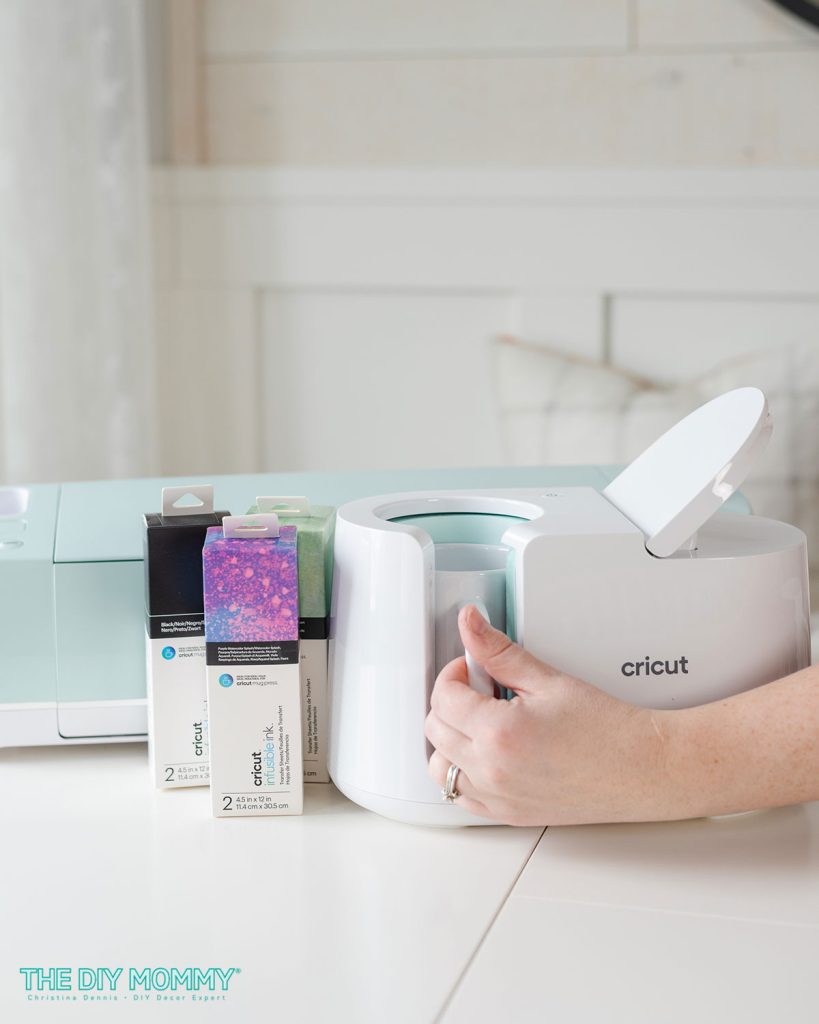
Once your Mug Press has beeped indicating it’s ready to use, you can place your mug inside the machine and push the lever on the right to secure it in place.
There are no other steps required – the Mug Press will do the rest! Simply watch the progress of the transfer by looking at the lights on top of the machine, and wait for the beep to signal your design is ready.
Once your mug is done, life the lever on the Press and carefully remove the mug by it’s handle. It’s very hot, so don’t touch it elsewhere. Place it on a heat safe mat and wait for it to cool completely.
When your mug is cool, you can remove the Infusible Ink backing and reveal your beautiful design!